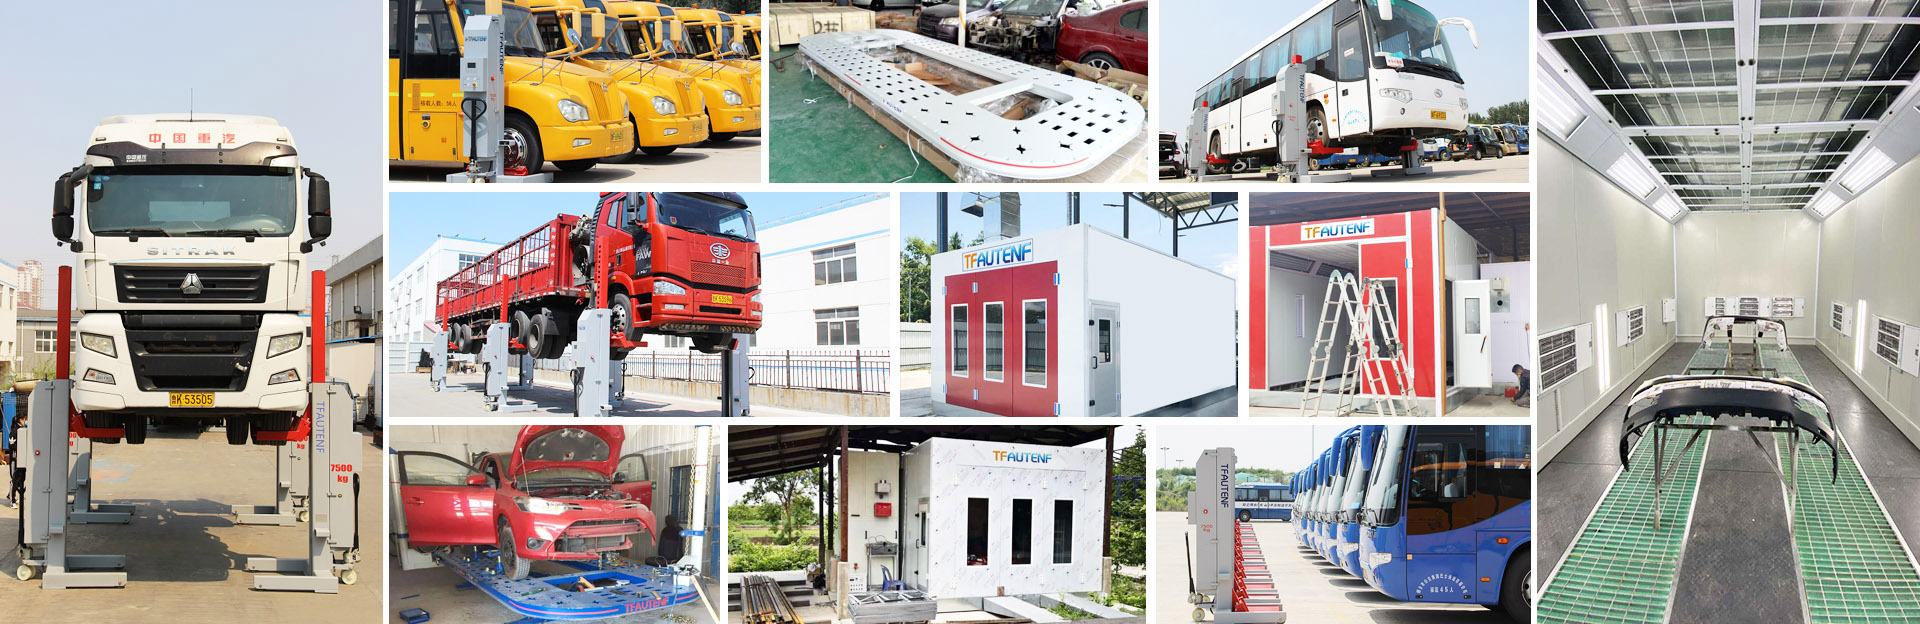
Step 1: Pre-Lift "Three Checks" (1 Minute)
Don’t skip these steps:
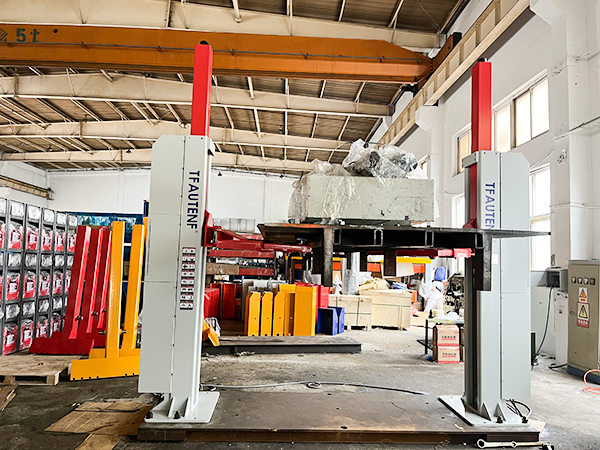
Check the ground: Ensure it is level concrete and clear of debris/personnel within a 5-meter radius to prevent interference.
Check the vehicle: Set the parking brake firmly, put the transmission in neutral, and inspect tires for severe wear, cracks, or improper inflation.
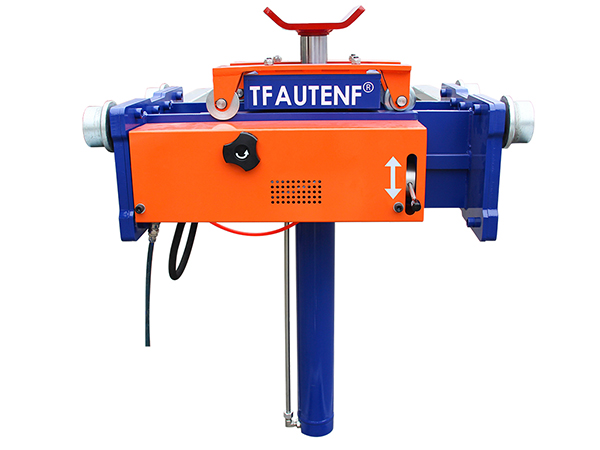
Check the equipment: Look for hydraulic leaks and remove any debris (mud, stones) from the arms. Verify the rated load capacity—never exceed it.
Step 2: Positioning the Arms
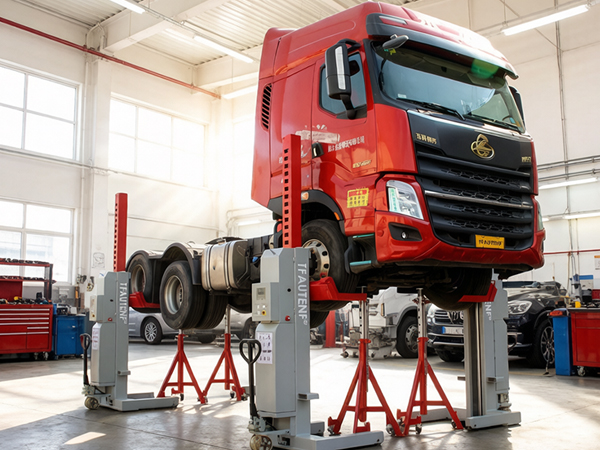
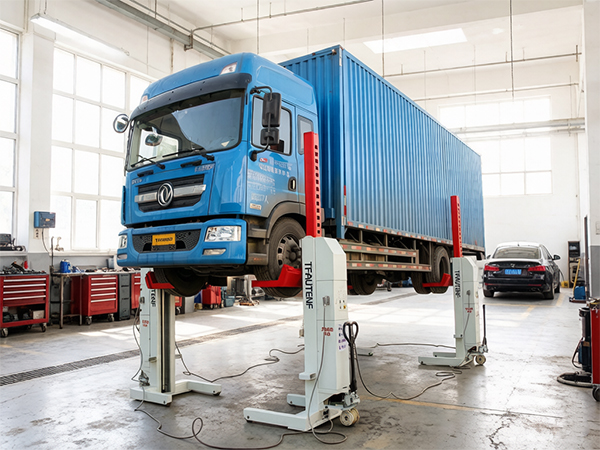
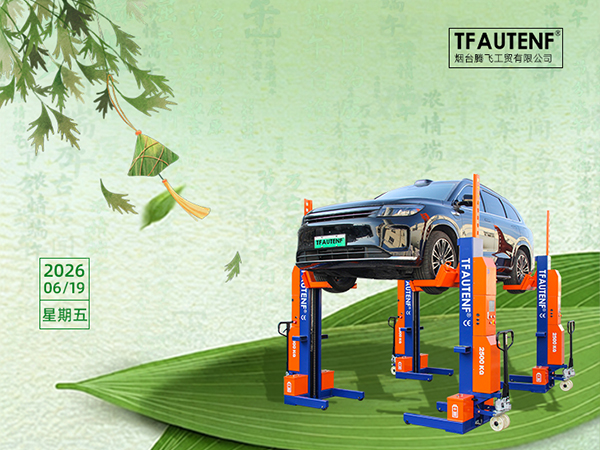
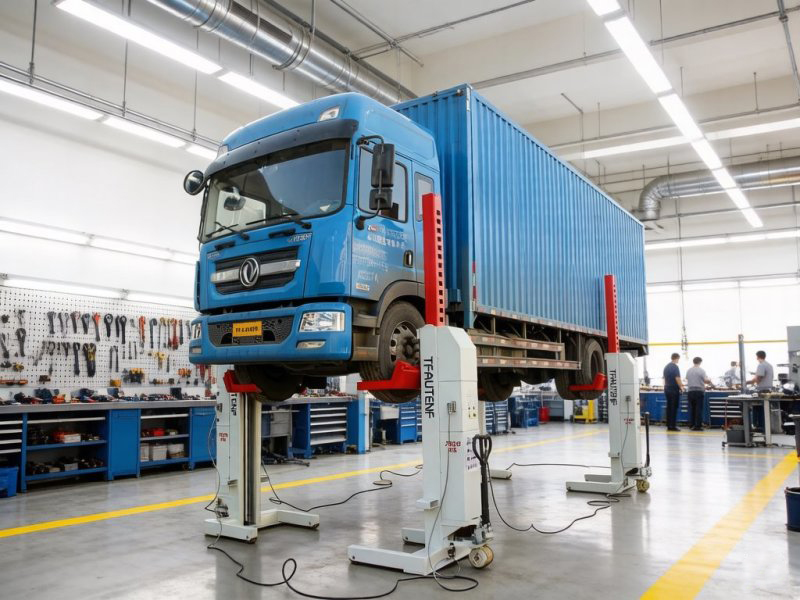
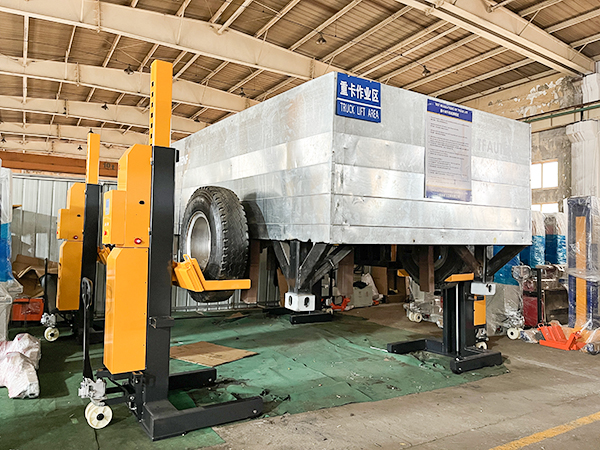
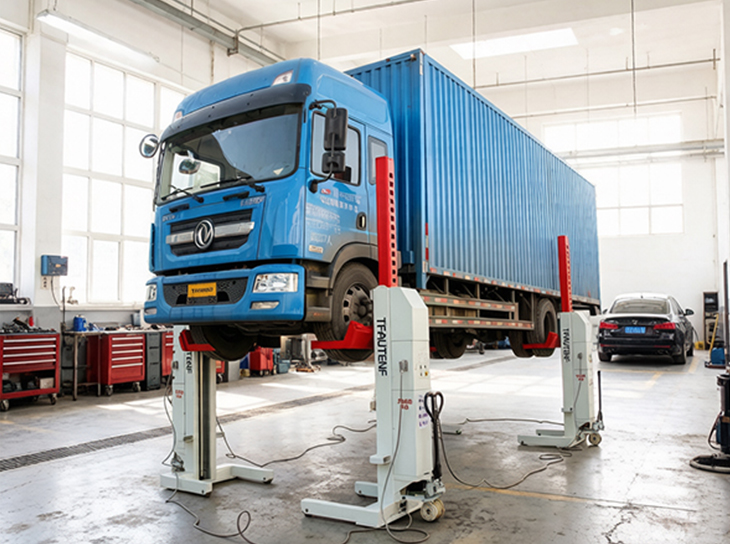
Drive the vehicle into position so the tire sits centered between the lift arms. Manually adjust the arm spacing until the steel jaws fully engage the sidewall of the tire with sufficient depth. Give the tire a firm shake to confirm it is secure. When lifting one side only, always place wheel chocks on both sides of the opposite tires.
Step 3: Lifting and Lowering
Press the "Up" button steadily. Watch closely: ensure the vehicle remains level and listen for any abnormal metal-on-metal noises or shifting. Once at the desired height (e.g., 30cm for wheel service), wait for the mechanical safety latch to click into place before anyone goes underneath.
After the job, ensure all personnel and tools are clear. Hold the "Down" button to lower slowly. Once grounded, drive the vehicle away.
Two Critical Warnings for Beginners:
No Debris: Mud or stones trapped between the jaws and the rim can cause slippage. Clean the contact area thoroughly.
Always Lock: Even if leaving for just a minute, engage the safety locks. This prevents catastrophic failure if hydraulics lose pressure.
Summary:
Master these steps, and this tire-engaging heavy-duty lift becomes your most reliable partner for efficient and safe truck maintenance.